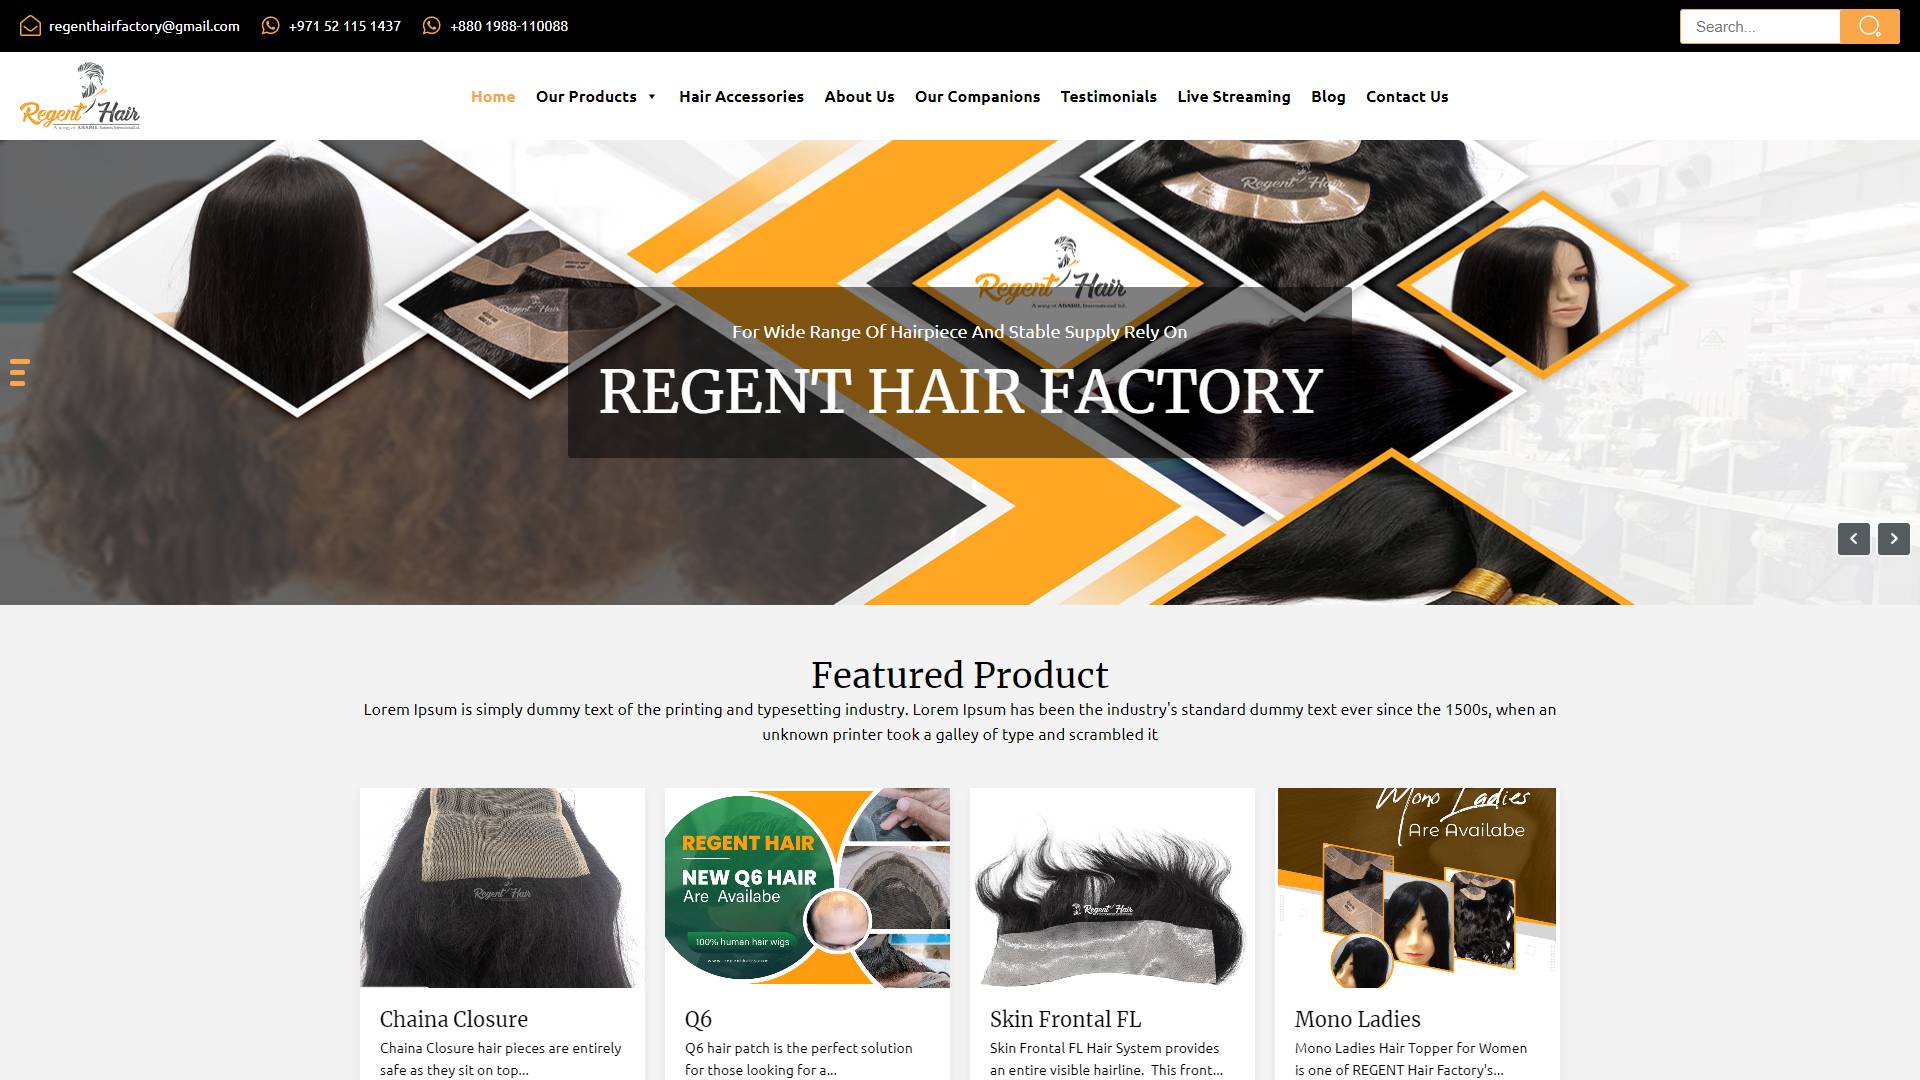
Regent Hair Factory is one of the leading manufacturers of human hair products in the industry. Whether you're a hair stylist or an individual looking for high-quality extensions or wigs, Regent Hair Factory has got you covered. However, like any other hair product, it requires maintenance to keep it looking its best. In this blog, we'll go over some tips and tricks to help you maintain your Regent Hair Factory products.
First and foremost, it's important to handle your hair extensions or wigs with care. Avoid brushing or combing them aggressively, as this can cause damage or breakage. Instead, use a wide-tooth comb or a brush specifically designed for hair extensions or wigs. It's also important to detangle your hair before washing it. This will make the washing process easier and prevent tangling or knotting.
When it comes to washing your hair extensions or wigs, use a gentle shampoo and conditioner. Avoid products with harsh chemicals or sulfates, as these can damage the hair fibers. It's also important to avoid rubbing or scrubbing the hair vigorously, as this can cause tangling and matting. Instead, gently massage the shampoo and conditioner into the hair, then rinse thoroughly with lukewarm water.
After washing your hair, it's important to dry it properly. Avoid using a hair dryer on high heat, as this can damage the hair fibers. Instead, gently pat the hair with a towel to remove excess water, then air dry it or use a hair dryer on a low heat setting. It's also important to avoid sleeping with wet hair extensions or wigs, as this can cause tangling and matting.
In addition to regular washing and drying, it's important to store your hair extensions or wigs properly. When not in use, store them in a cool, dry place away from direct sunlight. You can also use a hair extension hanger or a wig stand to help maintain their shape.
By following these tips and tricks, you can ensure that your Regent Hair Factory products look their best and last for a long time. With proper maintenance, you can enjoy your hair extensions or wigs without worrying about damage or breakage.
Adding products to your website using WooCommerce is a simple and straightforward process. To begin, log in to your WordPress dashboard and navigate to the Products tab in the sidebar. From here, you can either add a new product or edit an existing one. To add a new product, click on the Add New button and start filling in the product information. This includes the product name, description, images, price, and any other relevant details. You can also add product categories and tags to help organize your products. Once you've entered all the necessary information, click on the Publish button to make your product live on your website. You can then view your product on your website and make any necessary edits or updates in the future. With WooCommerce, adding products to your website is a breeze, allowing you to easily manage and sell your products online.

Adding attributes to your WooCommerce products can help you provide more information about your products and allow customers to filter and search for products more easily. To add attributes to your product, start by navigating to the Attributes tab in the product editing screen. Click on the Add button to create a new attribute. You can then name the attribute and add any relevant values, such as size or color options. Once you've added your attribute, click on the Save attributes button to save your changes.
Next, navigate to the Variations tab in the product editing screen to create variations for your product based on the attribute you just added. Click on the Create variations from all attributes button to automatically generate variations based on the attribute values you entered. You can then edit and customize each variation as needed, adding specific details such as SKU, price, and stock levels. Finally, click on the Publish button to make your product live on your website. Customers can then filter and search for products based on the attributes you've added, making it easier for them to find what they're looking for. With WooCommerce, adding attributes to your products is a simple and effective way to provide more information and enhance the customer experience on your website.

Adding feature images and galleries to your WooCommerce products is a great way to showcase your products and provide customers with a visual representation of what they're purchasing. To add a featured image to your product, start by navigating to the product editing screen in your WordPress dashboard. From here, scroll down to the Product image section and click on the Set product image button. You can then upload an image from your computer or select one from your media library.
To add a gallery of images to your product, scroll down to the Product gallery section and click on the Add product gallery images button. You can then upload multiple images from your computer or select them from your media library. You can also drag and drop images to rearrange their order in the gallery.
Once you've added your feature image and gallery, click on the Update button to save your changes and make your product live on your website. Customers can then view the feature image and browse through the gallery to get a better idea of what your product looks like.
In summary, adding feature images and galleries to your WooCommerce products is a simple and effective way to enhance the customer experience on your website and showcase your products in a visually appealing way. With WooCommerce, you can easily manage and customize your product images and galleries to ensure that your products look their best and attract more customers.

Adding a YouTube video to your website using the custom post type called YT video is a simple and effective way to enhance your website's content. Start by logging in to your WordPress dashboard and navigating to the YT video tab in the sidebar. Click on Add New to create a new YT video post.
In the Add Title field, enter a title for your video. In the Video URL field, paste the URL of the YouTube video you want to embed on your website. You can find the video URL by clicking on the Share button below the YouTube video and then copy the link.
Next, add a featured image for your video. This image will appear on your website as the thumbnail for the video. You can either upload an image from your computer or select one from your media library. Once you've added all the necessary information, click on the Publish button to make your video live on your website. Customers can then view the video on your website and watch it directly from the embedded player. With this method, you can easily add YouTube videos to your website without having to worry about hosting the videos yourself or dealing with complex coding. This helps to keep your website lightweight and fast-loading, while still providing high-quality video content for your visitors to enjoy.

Adding an FAQ section to your website is a great way to provide customers with answers to commonly asked questions and improve their experience on your site. To add an FAQ, start by logging in to your WordPress dashboard and navigating to the FAQ's tab in the sidebar. Click on Add New to create a new FAQ post.
In the Title field, enter the question that you want to answer. In the Content field, enter the answer to the question. You can use text, images, and even videos to provide a comprehensive answer. However, it is important to keep the answer concise and easy to understand.
Leave the Featured Image field blank, as the image will not appear anywhere on your website.
Once you've added all the necessary information, click on the Publish button to make your FAQ live on your website. You can then add more FAQs by repeating the process. With this method, you can easily manage and update your FAQs to ensure that your customers always have access to accurate and up-to-date information.

Adding reviews to your website is a great way to showcase customer feedback and build trust with potential customers. To add a review, start by logging in to your WordPress dashboard and navigating to the Reviews tab in the sidebar. Click on Add New to create a new review post.
In the Title field, enter the name of the client who provided the review. In the Content field, enter the main review text. You can also add tags to categorize your reviews and make them easier to find for your visitors.
Next, select the Review Country option and enter the country name in the field provided. This helps to provide context for your visitors and shows that your business has a global reach.
In the Featured Image field, upload an image of the client who provided the review. This adds a personal touch to the review and helps to build trust with potential customers.
Once you've added all the necessary information, click on the Publish button to make your review live on your website. Customers can then view the review on your website and leave comments or feedback. With this method, you can easily manage and update your reviews to ensure that your customers always have access to the latest feedback from your satisfied clients.

To check for email, custom orders, and custom payment information on your website, you can use Fluent Form Pro. Start by logging in to your WordPress dashboard and navigating to the Fluent Form Pro tab in the sidebar. Click on Entries to access the list of all the entries that have been submitted through your forms.
To make it more efficient, you can go to All Forms and select the entries of a specific form to view the information related to that particular form. This helps to organize the information and makes it easier to find the details that you need.
In the entries section, you can view the information related to each form submission, including the name, email address, custom order, and custom payment information. You can also filter the entries by date, status, or any other field that you have added to your forms.
This allows you to easily keep track of all the submissions that have been made through your website and ensure that you never miss an important message or order. With Fluent Form Pro, you can manage all your website's forms and submissions in one place, making it easy to stay on top of your customer interactions and maintain a high level of customer satisfaction.

To check orders on WooCommerce, start by logging in to your WordPress dashboard and navigating to the WooCommerce tab in the sidebar. Click on Orders to access the list of all the orders that have been placed on your website.
In the Orders section, you can view the details of each order, including the customer's name, email address, order number, date, payment status, and shipping information. You can also filter the orders by status, date, or any other field that you have added to your orders.
Click on an individual order to view the full order details, including the items ordered, the quantity, the price, and any notes or comments from the customer. You can also update the order status, add notes or comments, and send emails to the customer directly from the order page.
If you need to export your orders, you can do so by clicking on the Export button and selecting the fields that you want to export. This can be helpful if you need to track your sales and order history over time.
By using WooCommerce to manage your orders, you can easily keep track of all the sales made through your website, stay on top of customer interactions, and maintain a high level of customer satisfaction.

Adding a blog post to your website is a straightforward process that can be accomplished using the WordPress dashboard. Start by logging in to your dashboard and navigating to the Posts tab in the sidebar. Click on Add New to create a new post.
In the post editor, you can add your blog content, including text, images, videos, and any other media that you want to include. You can also format your text using built-in editor tools, such as bold, italic, and bullet points.
In the post settings, you can add a title for your post, set the post category and tags, and choose a featured image that will be displayed on your blog page and in any social media or RSS feeds that you use.
Once you have completed your post, you can preview it to ensure that everything is displaying correctly. You can also save it as a draft to work on later or publish it immediately.
To manage your blog posts, you can use the Posts section of the WordPress dashboard. From here, you can view all of your posts, edit existing posts, and delete posts that are no longer needed.
By adding regular blog posts to your website, you can provide valuable content for your audience, improve your search engine rankings, and establish your website as a trusted authority in your niche.

Access to other settings and menus on a website will depend on the specific needs and goals of the website owner. Typically, accessing other settings and menus will be based on the instructions provided by WordPress. These settings and menus can include everything from theme and plugin options to custom post types, to site optimization and performance tools.
It is important to be careful when accessing other settings and menus, as changing the wrong settings can have unintended consequences for the website's functionality or appearance. Before making any changes, it is recommended to back up the website and read any documentation or instructions provided by WordPress or the relevant plugin or theme developers.
In general, access to other settings and menus should only be granted to individuals who have a clear understanding of the website's structure and functionality and are comfortable making changes that could impact the site. For others who do not require this access, it is best to limit their capabilities to avoid any unnecessary errors or problems.

If you have any other support needs or questions that were not covered in this guide, please don't hesitate to contact our support team. Our team is available 24/7 to provide you with prompt and reliable assistance. Whether you need help with website maintenance, troubleshooting, or any other related topics, our support team is here to help.
You can reach out to our support team via email, phone, or chat, and we will do our best to provide you with the information and assistance you need. We understand the importance of having a fully functional and well-maintained website, and we are committed to helping you achieve this goal.
So, if you have any queries or concerns, please feel free to get in touch with us. Our support team will be glad to assist you and ensure that your website is running smoothly and efficiently.